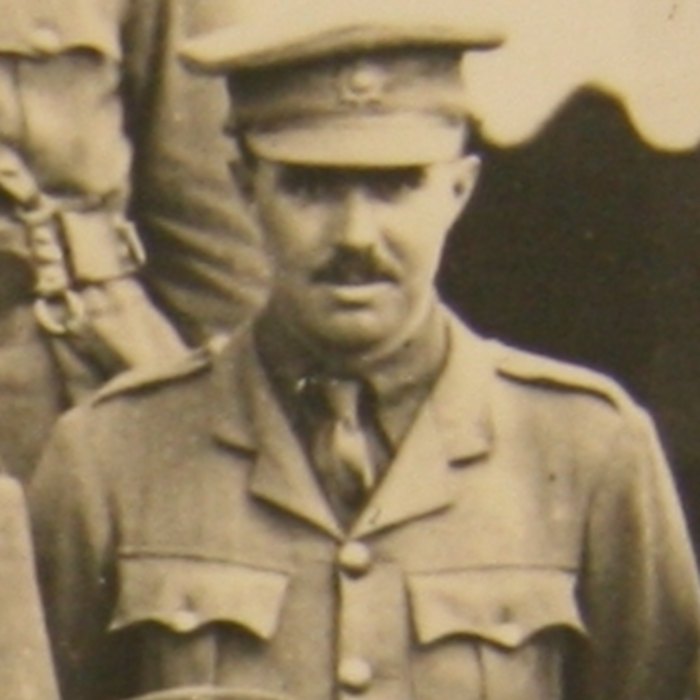
Captain Hudson
On the 21st August 1915, the 10th Battalion of the Hampshire Regiment took part in the August Offensive, the last major Allied offensive of the ill-fated Gallipoli Campaign. Allied landings on the Peninsula had begun on the 25th of April 1915 but had rapidly devolved into a stalemate both at Cape Helles and ANZAC Cove. In the four months from April to August, even the first day’s planned objectives had failed to be met.
A major surge on the 6th of August saw a new landing at Suvla Bay and renewed attacks at Cape Helles and ANZAC. Colonel Malone’s Wellington Battalion made progress and captured the peak of Chunuk Bair, though it was soon recaptured by a fierce Ottoman counterattack. The 10th Battalion of the Hampshire Regiment suffered significant casualties on the mountainside.
With the chance of retaking Chunuk Bair lost, the capture of the high ground inland from Suvla Bay became a priority. The 11th and 29th Divisions swept East from Suvla against Scimitar Hill, whilst a composite force including the 10th Hampshires was tasked with assaulting Hill 60 from the South.
At 5 am on the 21st August the commander of the 10th Battalion was briefed to screen the right flank of the advance. 85 guns, including the fire of six warships, were to provide gunfire support, although a shortage of shells and haze rendered the barrage ineffective.
Conducting a personal reconnaissance, Major Morley, commanding the Battalion, spotted men of the New Zealand Mounted Rifles (fighting as infantry during the campaign) in the Ottoman trenches and brought the 10th Battalion to reinforce the attack.
C Company, led by Captain Hudson, was the first to advance, traversing two gullies and an exposed ridgeline to reach the trench. A few men reached the front trench to reinforce the New Zealanders, but the majority of the men were cut down; A Company under Lt Calderwood followed but came under intense machine-gun fire. Lt Calderwood and many men were killed.
A and B Companies advanced with Captain Hellyer and Major Morley both being wounded, Hellyer mortally. The attack had failed and the New Zealanders’ hold in the Ottoman trenches was soon overrun.
After dark the survivors returned to Allied lines. In a letter home Captain Hudson wrote:
“The Battalion went in 350 strong including one Major, two Captains and two Lieutenants; the next morning we mustered one Captain (myself) one subaltern (the quartermaster) and 190 men. One Lieutenant was shot through the head within a yard of me and another Captain (married a week before leaving England) died of wounds and the Major was seriously wounded, leaving me in charge of the Battalion – such as it was”.
Captain Hudson was mentioned in despatches for his courageous actions during the attack and would continue to have a distinguished career with the Regiment. He won the Military Cross on the Western Front and commanded the 2nd Battalion at Dunkirk in 1940.
The attacks on Scimitar Hill and Hill 60 had both failed; the capture of two vital wells and the Western slope of Hill 60 was little consolation for the heavy casualties suffered. Large-scale attacks were halted as both sides were content to rest after such costly fighting. With the dominating high ground remaining in Ottoman hands, the Campaign was doomed to failure. The 10th Battalion would be withdrawn from Gallipoli in September and sent to Salonika in Greece, whilst the last British troops would be evacuated from the Peninsula in January 1916.
Chris Waters – Museum Assistant

